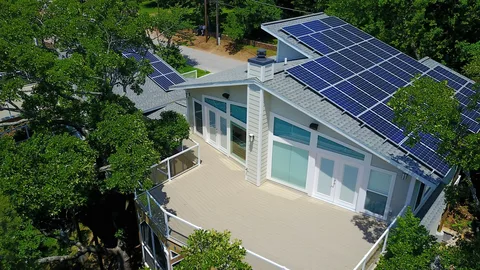
As energy costs continue to rise and environmental concerns grow, more homeowners are turning to solar energy as a sustainable and cost-effective solution. Installing a solar power system at home can significantly reduce your electricity bills while decreasing your carbon footprint. This step-by-step installation guide for home solar power system will walk you through the process of setting up your own system, from planning to activation.
1. Assess Your Energy Needs
Before diving into the installation process, it’s essential to understand how much energy your household consumes. Review your electricity bills to calculate your average monthly usage. This helps in determining the size of the solar system you need. There are online calculators and tools available to assist with this step.
2. Evaluate Your Home’s Solar Potential
Not every home is ideal for solar panels. Check for:
- Roof orientation and angle
- Amount of daily sunlight
- Shading from trees, buildings, or other obstructions
A site assessment by a professional installer or using satellite-based tools can give you accurate solar potential data.
3. Choose the Right Solar System
There are three main types of solar power systems:
- Grid-tied systems: Connected to the utility grid, allowing you to draw and return power.
- Off-grid systems: Completely independent of the utility grid, ideal for remote areas.
- Hybrid systems: A combination of grid-tied and battery storage for backup power.
Select the system that best suits your energy needs and lifestyle.
4. Get Permits and Approvals
This is a crucial step in the step-by-step installation guide for home solar power systems. Local governments often require permits for installing solar panels. You may also need approval from your homeowners’ association or utility company. Working with a licensed installer can simplify this process, as they’re familiar with local regulations.
5. Install the Solar Panels
Once approvals are in place, the actual installation can begin. Here’s what typically happens:
- Mounting system installation: This structure secures the panels to your roof or ground.
- Panel placement: Panels are positioned for maximum sun exposure.
- Wiring: Electrical connections link the panels to the inverter and your home’s power system.
This step must be handled with care, ideally by certified professionals, to ensure safety and efficiency.
6. Connect to the Inverter and Utility Grid
The inverter converts DC electricity from the panels into AC power for home use. After wiring, the system is connected to your home’s electrical panel. For grid-tied systems, this step includes connecting to the utility grid and may require a bi-directional meter installation.
7. System Inspection and Activation
A final inspection is required by local authorities or utility providers before turning on the system. Once approved, your system goes live. This marks the last step in the step-by-step installation guide for home solar power systems, allowing you to start generating clean, renewable energy.
Conclusion
Installing a solar energy system at home may seem daunting, but this step-by-step installation guide for home solar power systems simplifies the process into manageable tasks. From assessing energy needs to powering your home with the sun, each stage is crucial for long-term success. With the right planning and professional help, you’ll be well on your way to energy independence and sustainability.


